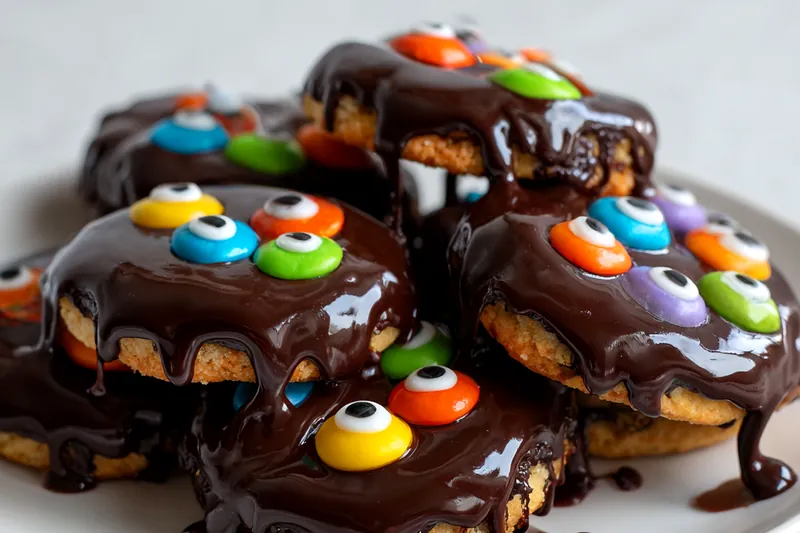
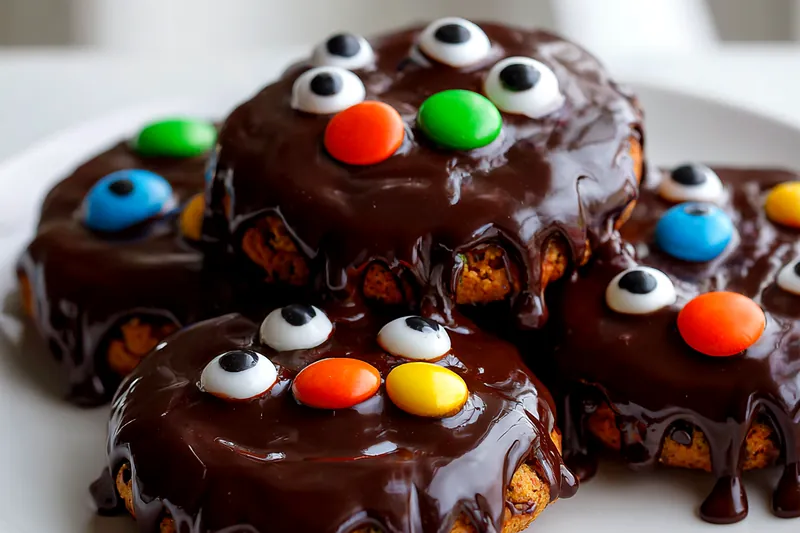
Easy Halloween Monster Cookies with Chocolate Coating and Candy Eyes
These Easy Halloween Monster Cookies are a fun and festive treat that everyone will love. With a chocolate coating and adorable candy eyes, they are perfect for parties or family gatherings. Simple to make, these cookies will be a hit with kids and adults alike!


Why You'll Love These Cookies
These Halloween Monster Cookies are not just delicious; they are also a fun project for the whole family. The bright colors and playful designs make them a perfect addition to any Halloween celebration.
With easy-to-follow steps and simple ingredients, you can whip up a batch in no time. The chocolate coating adds a rich flavor, while the candy eyes give them a whimsical touch that kids will adore.
💡 Professional Tip
For an extra fun twist, consider adding different types of candies or colored sprinkles to the cookies. This can make them even more festive and personalized for your Halloween celebration.
Frequently Asked Questions
Yes! You can prepare the cookie dough a day in advance and store it in the refrigerator. Just make sure to let it soften a bit before baking. The decorated cookies can also be made a day ahead. Just store them in an airtight container.
Absolutely! You can use white chocolate chips, butterscotch chips, or even chopped up candy bars for a different flavor profile. Just ensure the substitute melts well if you plan to coat the cookies with it later.
Yes, these cookies freeze well! Just make sure they are completely cooled before placing them in an airtight container or freezer bag. They can be stored in the freezer for up to 3 months.
If you don't have candy eyes, you can use chocolate chips, mini marshmallows, or even frosting to create spooky faces. Get creative with whatever you have on hand!
The cookies are done when they are lightly golden around the edges and set in the middle. They may look slightly undercooked, but they will continue to set as they cool on the baking sheet.
These cookies pair wonderfully with a glass of milk or a cup of hot cocoa. They can also be a fantastic addition to a Halloween dessert table alongside other spooky treats.
Yes, you can substitute regular flour with a gluten-free all-purpose flour blend. Be sure to check that all other ingredients are gluten-free as well.
Store the cookies in an airtight container at room temperature for up to a week. If you prefer them to last longer, you can refrigerate them, but they may lose some of their freshness.
Recipe Troubleshooting Guide
Cookies Spread Too Much
Problem: If your cookies are spreading too much, they may not have enough flour.
Solution: Ensure you are measuring the flour correctly. You can also chill the dough for 30 minutes before baking to reduce spreading.
Cookies Are Hard
Problem: If your cookies come out too hard, they might have been overbaked.
Solution: Bake just until the edges are golden and the centers are set. Always keep an eye on them during the last few minutes.
Chocolate Coating Won't Set
Problem: If your chocolate coating is too runny, it may be overheated.
Prevention: Melt the chocolate at a lower temperature and stir until smooth. Allow it to cool slightly before dipping the cookies for better coating.
Candy Eyes Falling Off
Problem: Sometimes, the candy eyes may not stick well to the chocolate.
Recovery: Try pressing the candy eyes into the melted chocolate immediately after coating the cookies. Allow the chocolate to set before serving.
Cookies Too Sweet
Problem: If the cookies are too sweet, it might be due to too much sugar.
Prevention: You can reduce the sugar next time or add a pinch of salt to balance the sweetness.
Flavor Balance
Too Sweet: If the cookies taste too sweet, add a bit of salt to balance it out.
Too Salty: If they are too salty, a bit of sugar can help counteract the saltiness.
Bland: If the flavor is bland, try adding a teaspoon of vanilla extract or a dash of cinnamon for enhancement.
Tips for the Best Cookies
Make sure all your ingredients are at room temperature for the best mixing results. This includes the butter and eggs, which will create a smoother dough.
Chilling the dough can also help if you find it too sticky or difficult to handle. Chilled dough is easier to shape and will result in thicker cookies.
Essential Ingredient Notes
- Unsalted Butter: Using unsalted butter allows you to control the salt content in your cookies more effectively. Always use fresh butter for the best flavor.
- Brown Sugar: Brown sugar adds moisture and a slight chewiness to cookies, making them softer compared to using only granulated sugar.
- Chocolate Chips: Using a mix of milk and dark chocolate chips can create a delicious flavor contrast in your cookies, making them even more enjoyable.
Serving and Enjoying
These cookies are best served fresh but can also be enjoyed later. They are the perfect treat to bring to Halloween parties, school events, or simply to enjoy at home with family.
Don’t forget to encourage everyone to get involved in the decorating process! Kids love creating their own monster designs, making it a fun activity for all.
Chilling the Dough
Chilling the dough helps to prevent excessive spreading and allows for easier handling. A well-chilled dough will result in thicker, more uniform cookies, making them visually appealing and providing a better texture.
Easy Halloween Monster Cookies with Chocolate Coating and Candy Eyes
📋 Ingredients
Main Ingredients
- 1 cup chocolate melts or candy coatingFor coating the cookies
For the Coating and Decoration
- 1 cup unsalted butter, softenedRoom temperature
- 2 cups granulated sugarFor sweetness
- 1 cup brown sugar, packedFor moisture
- 2 large eggsLarge, at room temperature
- 1 tsp vanilla extractFor flavor
- 4 cups all-purpose flourBase of the cookies
- 1 tsp baking sodaLeavening agent
- 1/2 tsp saltTo enhance flavor
- 1 cup chocolate chipsFor added chocolate flavor
- 1 cup candy eyesFor decoration
- Sprinkles for decorationFor fun topping
Instructions
Preheat the Oven
Preheat your oven to 350°F (175°C) and line baking sheets with parchment paper.
Cream Butter and Sugars
In a large bowl, cream together the softened butter, granulated sugar, and brown sugar until light and fluffy.
Add Eggs and Vanilla
Beat in the eggs one at a time, then stir in the vanilla extract until well combined.
Mix Dry Ingredients
In a separate bowl, whisk together the flour, baking soda, and salt.
Combine Mixtures
Gradually add the dry ingredients to the butter mixture, mixing until just combined. Fold in the chocolate chips.
Shape Cookies
Using a cookie scoop or tablespoon, drop dough onto prepared baking sheets, spacing them about 2 inches apart.
Bake
Bake in the preheated oven for 12-15 minutes, or until edges are golden and centers are set.
Cool and Decorate
Allow cookies to cool on the sheets for 5 minutes before transferring to a wire rack. Once cool, melt chocolate and coat the cookies, then add candy eyes and sprinkles.
Recipe Notes & Tips
Storage
Store leftover cookies in an airtight container at room temperature for up to one week. For longer storage, consider refrigerating them.
Serving
These cookies are best served fresh but can also be a delightful treat for parties. Pair them with cold milk or hot cocoa for a comforting experience.
Variations
Feel free to customize the cookie decorations by using different types of candy or food coloring in the coating. You can also try adding nuts or dried fruits for varied flavors.